Setting Up a DuckDB Quack Server: A Hello World

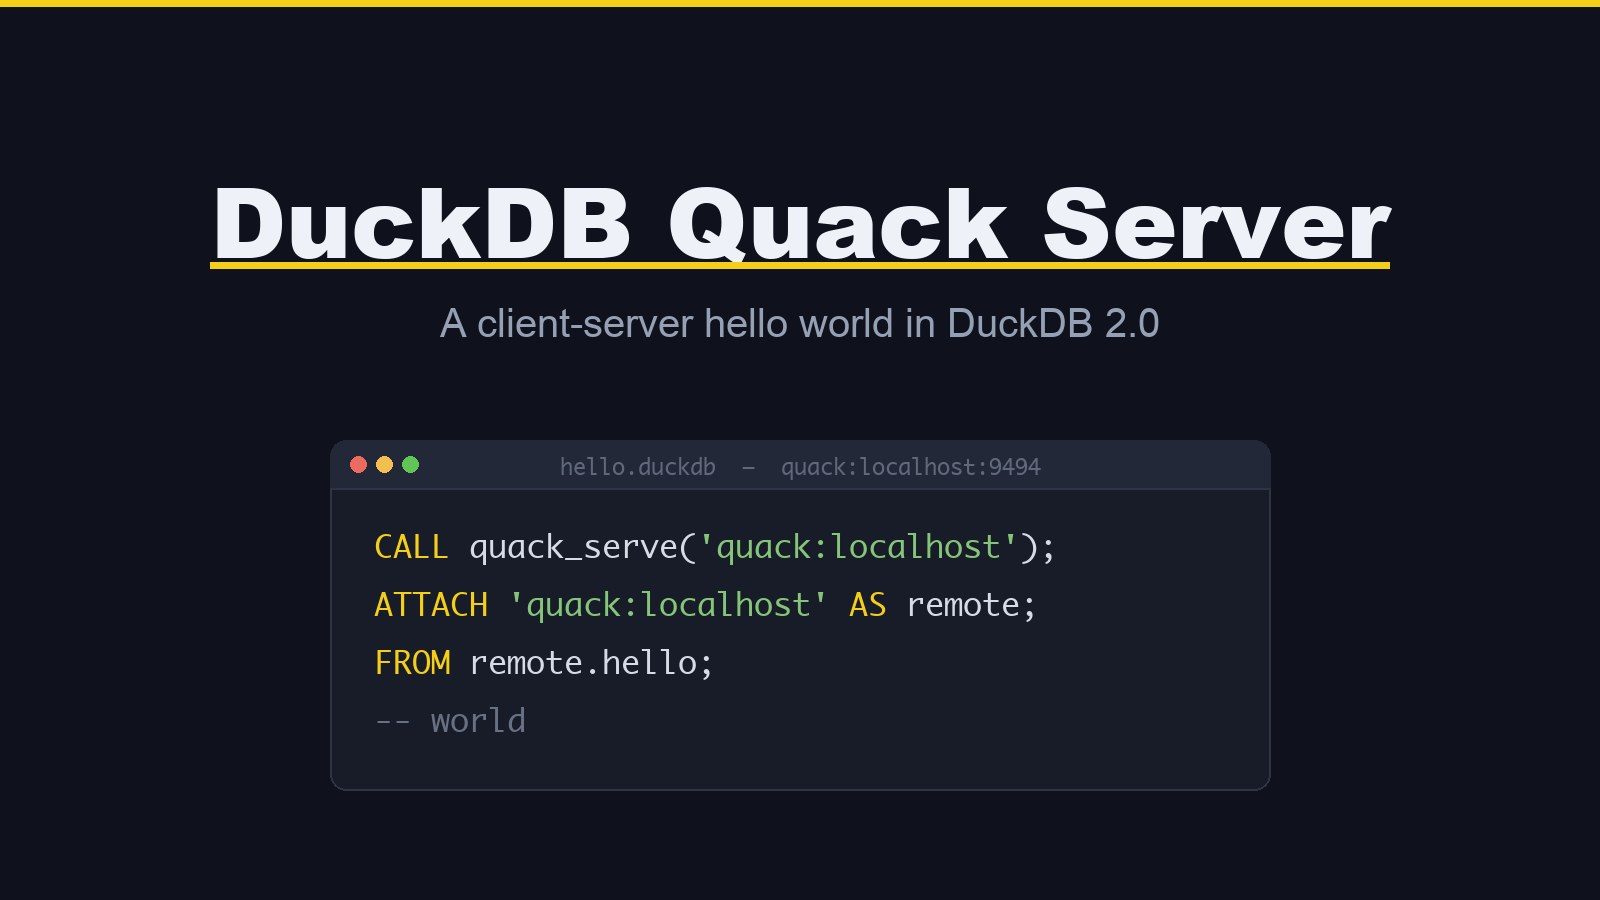
DuckDB is known for being an in-process database, the SQLite of analytics: no server, no daemon, just a library inside your application, one dependency in your POM. DuckDB 2.0 adds a client-server mode to that, the Quack remote protocol, which lets one DuckDB instance serve queries to another over the network.
The server and the client are both just DuckDB. There is no separate daemon to
install and no new query language to learn. You start a server with a SQL
function and connect to it with ATTACH,
the same statement you already use for Parquet files and Postgres databases.
Why run DuckDB as a server?
Running DuckDB as a server is still as simple to run as the embedded version, but it lets more than one process reach the same data. The query runs where the data is, so the client receives only the result, not the whole dataset.
A few common setups, local as well as remote:
- Several processes on one machine share a single DuckDB. A DuckDB file is single-writer, so normally only one process can open it read-write. Running a local server removes that limit, so a web app’s workers, a dashboard and a notebook can all query the same data at once.
- A team points their own DuckDB instances at one server instead of each keeping a copy of a multi-gigabyte file.
- You query a dataset on a remote machine without downloading it first.
- You put a shared DuckDB behind a Java service, since a JDBC connection can be the client just as easily as another DuckDB CLI.
This article is a small end-to-end example: two terminals, one row, one
world. Everything here uses the official quack core
extension. The announcement
post covers the
design behind it.
Step 1: Install DuckDB 2.0
The official installer covers every platform. On macOS and Linux, run the shell script:
curl https://install.duckdb.org | sh
On Windows, run the PowerShell installer instead:
powershell -NoExit -ExecutionPolicy Bypass -Command "irm https://install.duckdb.org/install.ps1 | iex"
Either way, check the version afterwards:
duckdb --version
You need v2.0.0 or newer. That release shipped a faster, more stable version
of the Quack protocol.
The quack extension autoinstalls and autoloads the first time you use it, so
there is nothing else to download.
Step 2: Start the server (Terminal A)
Open a terminal and start a DuckDB database that lives in a file, so the data survives the session:
duckdb hello.duckdb
Then, at the DuckDB prompt, start the server and give it something to serve:
CALL quack_serve('quack:localhost', token = 'super_secret');

CREATE TABLE hello AS FROM VALUES ('world') v(s);
quack_serve starts listening on the quack: scheme. quack:localhost is
shorthand for quack:localhost:9494, since 9494 is Quack’s default port. The
token is the shared secret a client must present.
If you leave token off, Quack generates a random one for you and returns it in
the auth_token column of the result. Copy that value and hand it to the client
in the next step.
Leave this terminal open. Closing it stops the server.
Step 3: Connect as a client (Terminal B)
Open a second terminal and start a fresh DuckDB. This one does not need a file:
duckdb
First store the token as a secret, scoped to the server you are talking to, so you do not have to repeat it on every statement:
CREATE SECRET (
    TYPE quack,
    TOKEN 'super_secret',
    SCOPE 'quack:localhost'
);
Now attach the remote server and read from it:
ATTACH 'quack:localhost' AS remote;

FROM remote.hello;
You should see a single row containing world. That is your hello world: the
query ran on the server in Terminal A, and the result came back to the client in
Terminal B.
Step 4: Route the whole session with CONNECT
Prefixing every table with remote. can be avoided. CONNECT points your
entire session at the server instead, so unqualified names resolve there:
CONNECT remote;

FROM hello;
SELECT 42;

DISCONNECT;
While connected, your SQL runs on the server and the results are streamed back.
DISCONNECT returns the session to your local database.
Step 5: Run a single query without ATTACH
For a single query, quack_query skips the ATTACH step entirely:
FROM quack_query(
    'quack:localhost',
    'SELECT ''hello world''',
    token = 'super_secret');
The query executes remotely, and anything the server raises, such as a parse error or a missing table, shows up in your client.
Step 6: Stop the server (Terminal A)
Back in Terminal A, shut the server down:
CALL quack_stop('quack:localhost');Going beyond localhost
A few things change once the client and server are on different machines:
By default the server refuses to bind to anything but a local hostname. To listen on an external address, pass
allow_other_hostname:CALL quack_serve('quack:0.0.0.0:9494', allow_other_hostname = true);Non-local Quack URIs use HTTPS by default, with a self-signed certificate. For production, put a TLS-terminating reverse proxy in front of Quack, or set
ssl_cert_fileandssl_key_fileto use your own certificate.Because the client is just DuckDB, any DuckDB connection can be the client, including a JDBC or Python one. The Java and Python code runs the same
CREATE SECRETandATTACHstatements shown above, so a Java application can sit in front of a shared DuckDB.
That is the full loop: install, serve, connect, query, stop. The hello table
can become real tables, Parquet files, or anything else DuckDB reads, and
the client does not need to know where any of it lives.
Found a mistake, or something to add? Edit this page on GitHub
Geertjan Wielenga
Geertjan is an open source and Java enthusiast, Java Champion, Apache Member, and leader of the Amsterdam Java User Group.