


Getting Started with TornadoVM 2.0 for Accelerating Java Applications
- December 22, 2025
- 4 min read
Starting with TornadoVM 2.0, installing and using TornadoVM is easier than ever. The project now provides prebuilt SDKs for multiple operating systems, architectures, and accelerator backends, and is also available via Maven Central for seamless integration with existing Java codebases.
This guide walks you through:
- Installing the TornadoVM SDK
- Verifying your setup
- Integrating TornadoVM into Java projects using Maven
Prerequisites
Before installing TornadoVM, ensure that your system has the following:
- Java Development Kit (JDK) 21
- JAVA_HOME correctly set to your JDK 21 installation
sdk install java 21.0.2-open
SDKMAN! will automatically set JAVA_HOME and make the JDK available to TornadoVM.
Downloading and Installing the TornadoVM SDK
TornadoVM SDKs come as ZIP archives tailored for different operating systems, CPU architectures, and accelerator backends. Choose the SDK that matches your setup from the official TornadoVM webpage or the SDKMAN! TornadoVM page.
You can choose a backend-specific build:
| Backend | SDKMAN! Latest Version |
| OpenCL | 2.2.0-opencl (default) |
| PTX | 2.2.0-ptx |
| SPIR-V | 2.2.0-spirv |
| All Backends | 2.2.0-full |
Installation Steps by Operating System
Linux / macOS
Open a terminal and run:
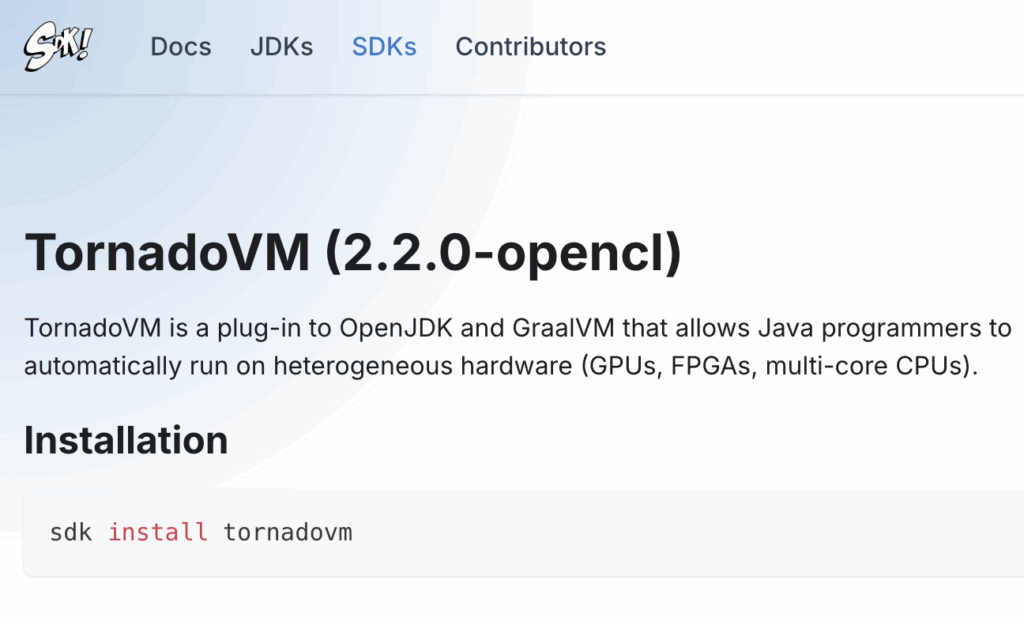
sdk install tornadovm 2.2.0-opencl
sdk install tornadovm 2.2.0-opencl
After installation, SDKMAN! automatically sets the TORNADOVM_HOME environment variable.
Windows (10+)
Using Command Prompt or PowerShell:
curl -L -o tornadovm-2.2.0-opencl-windows-amd64.zip https://github.com/beehive-lab/TornadoVM/releases/download/v2.2.0/tornadovm-2.2.0-opencl-windows-amd64.zip

tar -xf tornadovm-2.2.0-opencl-windows-amd64.zip

set TORNADO_SDK=%cd%\tornadovm-2.2.0-opencl

set PATH=%TORNADO_SDK%\bin;%PATH%
Verify Available Devices
Once TornadoVM is installed, verify that your system detects the available hardware accelerators.
Run the following command:
tornado --devices
This command lists all devices recognized by TornadoVM, including CPUs and GPUs. If your accelerator appears in the output, your system is ready.
Run Your First TornadoVM Program
TornadoVM includes example applications that demonstrate how Java programs can be accelerated transparently.
A simple starting point is a Matrix-Vector multiplication example.
Linux / macOS
java @$TORNADOVM_HOME/tornado-argfile -cp $TORNADOVM_HOME/share/java/tornado/tornado-examples-2.2.0.jar uk.ac.manchester.tornado.examples.compute.MatrixVectorRowMajor
Windows (10+)
java @%TORNADOVM_HOME%\tornado-argfile -cp %TORNADOVM_HOME%\share\java\tornado\tornado-examples-2.2.0.jar uk.ac.manchester.tornado.examples.compute.MatrixVectorRowMajoruk.ac.manchester.tornado.examples.compute.MatrixVectorRowMajor
This program runs a Java application that TornadoVM automatically offloads to available accelerators.
Integrating TornadoVM into Java Projects Using Maven
Since TornadoVM v2.0.0, TornadoVM has been available via Maven Central, which simplifies adding it to your Java projects. To integrate TornadoVM, add the following dependency to your pom.xml:
<dependencies>
  <dependency>
    <groupId>io.github.beehive-lab</groupId>
    <artifactId>tornado-api</artifactId>
    <version>2.1.0</version>
  </dependency>
  <dependency>
    <groupId>io.github.beehive-lab</groupId>
    <artifactId>tornado-runtime</artifactId>
    <version>2.1.0</version>
  </dependency>
</dependencies>
This setup allows your project to compile and run with TornadoVM support without manual SDK management.
Example: Accelerating a Simple Java Kernel
Here is a basic example class of how to use TornadoVM to accelerate a Java method (vectorAdd):
import uk.ac.manchester.tornado.api.ImmutableTaskGraph;
import uk.ac.manchester.tornado.api.TaskGraph;
import uk.ac.manchester.tornado.api.TornadoExecutionPlan;
import uk.ac.manchester.tornado.api.annotations.Parallel;
import uk.ac.manchester.tornado.api.common.TornadoDevice;
import uk.ac.manchester.tornado.api.enums.DataTransferMode;
import uk.ac.manchester.tornado.api.runtime.TornadoRuntimeProvider;
import uk.ac.manchester.tornado.api.types.arrays.IntArray;

public class VectorAdd {

    private static void vectorAdd(IntArray a, IntArray b, IntArray c) {
        for (@Parallel int i = 0; i < c.getSize(); i++) {
            c.set(i, a.get(i) + b.get(i));
        }
    }

    public static void main(String[] args) {
        int size = Integer.parseInt(args[0]);

        IntArray a = new IntArray(size);
        IntArray b = new IntArray(size);
        IntArray c = new IntArray(size);

        a.init(10);
        b.init(20);

        TornadoDevice firstDevice =
                TornadoRuntimeProvider.getTornadoRuntime()
                        .getBackend(0)
                        .getDevice(0);

        TaskGraph taskGraph = new TaskGraph("s0")
                .transferToDevice(DataTransferMode.EVERY_EXECUTION, a, b)
                .task("t0", VectorAdd::vectorAdd, a, b, c)
                .transferToHost(DataTransferMode.EVERY_EXECUTION, c);

        ImmutableTaskGraph immutableTaskGraph = taskGraph.snapshot();
        TornadoExecutionPlan executionPlan = new TornadoExecutionPlan(immutableTaskGraph);

        executionPlan.withDevice(firstDevice).execute();

        System.out.println("Computation completed on device: " + firstDevice.getDescription());

        System.out.print("c[0.." + (size - 1) + "] = ");
        for (int i = 0; i < size; i++) {
            System.out.print(c.get(i));
            if (i < size - 1) System.out.print(", ");
        }
        System.out.println();

        // Optional: quick check
        System.out.println("Expected each element = 30");
    }
}
This example shows how to offload a simple vector addition to the accelerator device detected by TornadoVM.
You can compile and run this class in a new project, as follows:
mvn clean compile
tornado --threadInfo -cp target/classes VectorAdd 256
The output will be something like this:
WARNING: Using incubator modules: jdk.incubator.vector
Task info: s0.t0
	Backend           : OPENCL
	Device            : Apple M4 Pro CL_DEVICE_TYPE_GPU (available)
	Dims              : 1
	Global work offset: [0]
	Global work size  : [256]
	Local  work size  : [64, 1, 1]
	Number of workgroups  : [4]

Computation completed on device: Apple M4 Pro CL_DEVICE_TYPE_GPU (available)
c[0..255] = 30, 30, 30, 30, 30, 30, 30, 30, 30, 30, 30, 30, 30, 30, 30, 30, 30, 30, 30, 30, 30, 30, 30, 30, 30, 30, 30, 30, 30, 30, 30, 30, 30, 30, 30, 30, 30, 30, 30, 30, 30, 30, 30, 30, 30, 30, 30, 30, 30, 30, 30, 30, 30, 30, 30, 30, 30, 30, 30, 30, 30, 30, 30, 30, 30, 30, 30, 30, 30, 30, 30, 30, 30, 30, 30, 30, 30, 30, 30, 30, 30, 30, 30, 30, 30, 30, 30, 30, 30, 30, 30, 30, 30, 30, 30, 30, 30, 30, 30, 30, 30, 30, 30, 30, 30, 30, 30, 30, 30, 30, 30, 30, 30, 30, 30, 30, 30, 30, 30, 30, 30, 30, 30, 30, 30, 30, 30, 30, 30, 30, 30, 30, 30, 30, 30, 30, 30, 30, 30, 30, 30, 30, 30, 30, 30, 30, 30, 30, 30, 30, 30, 30, 30, 30, 30, 30, 30, 30, 30, 30, 30, 30, 30, 30, 30, 30, 30, 30, 30, 30, 30, 30, 30, 30, 30, 30, 30, 30, 30, 30, 30, 30, 30, 30, 30, 30, 30, 30, 30, 30, 30, 30, 30, 30, 30, 30, 30, 30, 30, 30, 30, 30, 30, 30, 30, 30, 30, 30, 30, 30, 30, 30, 30, 30, 30, 30, 30, 30, 30, 30, 30, 30, 30, 30, 30, 30, 30, 30, 30, 30, 30, 30, 30, 30, 30, 30, 30, 30, 30, 30, 30, 30, 30, 30, 30, 30, 30, 30, 30, 30, 30, 30, 30, 30, 30, 30
Expected each element = 30
What’s Next?
After running your first program, you can:
- Explore more TornadoVM examples
- Integrate TornadoVM into your own Java projects
- Learn the Loop Parallel API and Kernel API
Full documentation is available here:https://tornadovm.readthedocs.io/en/latest/
Final Thoughts
Using SDKMAN!, getting started with TornadoVM takes only a few commands. Once installed, TornadoVM allows Java developers to take advantage of heterogeneous hardware without rewriting applications in specialized languages.
If you know Java, you are ready to start accelerating your applications with TornadoVM.
Happy accelerating 🚀
- December 22, 2025
- 4 min read
Research Fellow at The University of Manchester, TornadoVM Technology and Commercialisation


Comments (0)
No comments yet. Be the first.