Controlling an LCD Display with Spring and Thymeleaf on the Raspberry Pi
- May 19, 2021
- 4073 Unique Views
- 3 min read
Igor De Souza shares on his blog a lot fun and inspirational experiments with Java on Raspberry Pi. Some of those were already shared here on Foojay.io:
- Electronics & Quarkus Qute on Raspberry Pi
- Electronics & Micronaut Velocity with Raspberry Pi
- Vert.x Example on the Raspberry Pi with a Virtual Potentiometer
This time we want to highlight his work which combines a web app made with Spring and Thymeleaf, to control an LCD display connected to a Raspberry PI.
Frameworks and components
- Spring Boot is an extension of the Spring framework, which eliminates the boilerplate configurations required for setting up a Spring application.
- Thymeleaf is a Java template engine for processing and creating HTML, XML, JavaScript, CSS, and text.
- The LCD display is an ST7920 model (or 12864ZW), which is probably the cheapest 128×64 graphic LCD that you can find.
- This "Universal Character/Graphics LCD Library for Java" by Rafael Ibasco is used to control the display.
Wiring
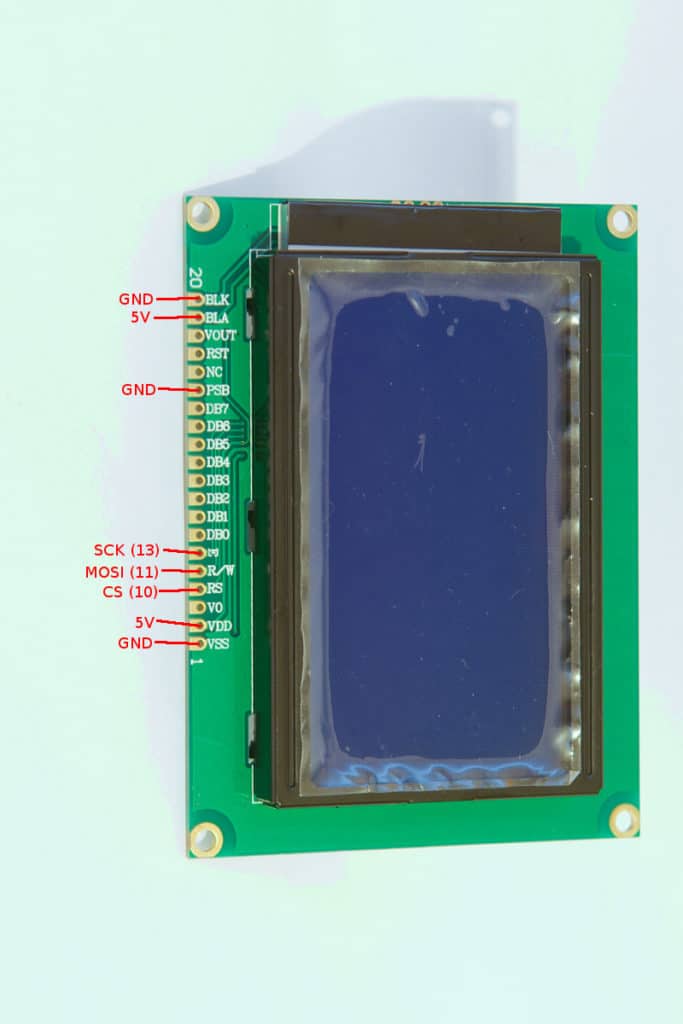
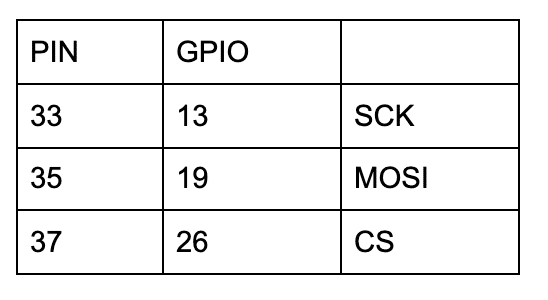
The display is connected according to this table indicating the physical PIN number and its according BCM number used in the code:
Project idea
Goal of this project, is to setup a simple Spring Boot Thymeleaf application, which shows a form with a 128×64 table. Each table position is the representation of a pixel of the LCD graphic display. This is achieved by using an array of bits with all the positions of this table.
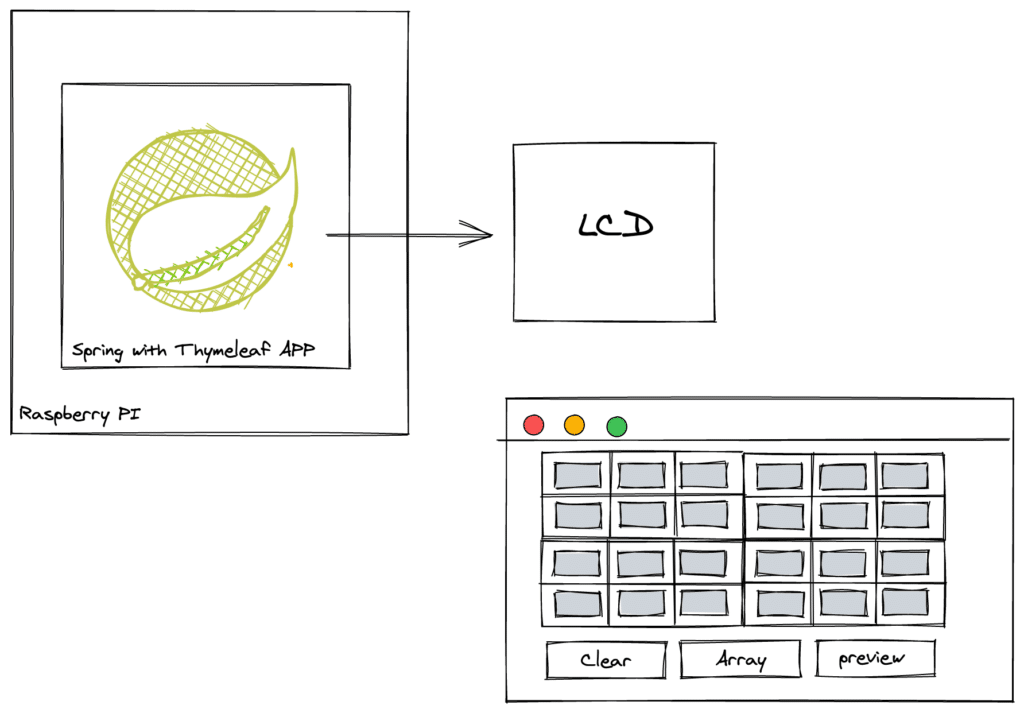
The user interface is limited with a button to convert the table to an array, and one to create a preview picture of the result.
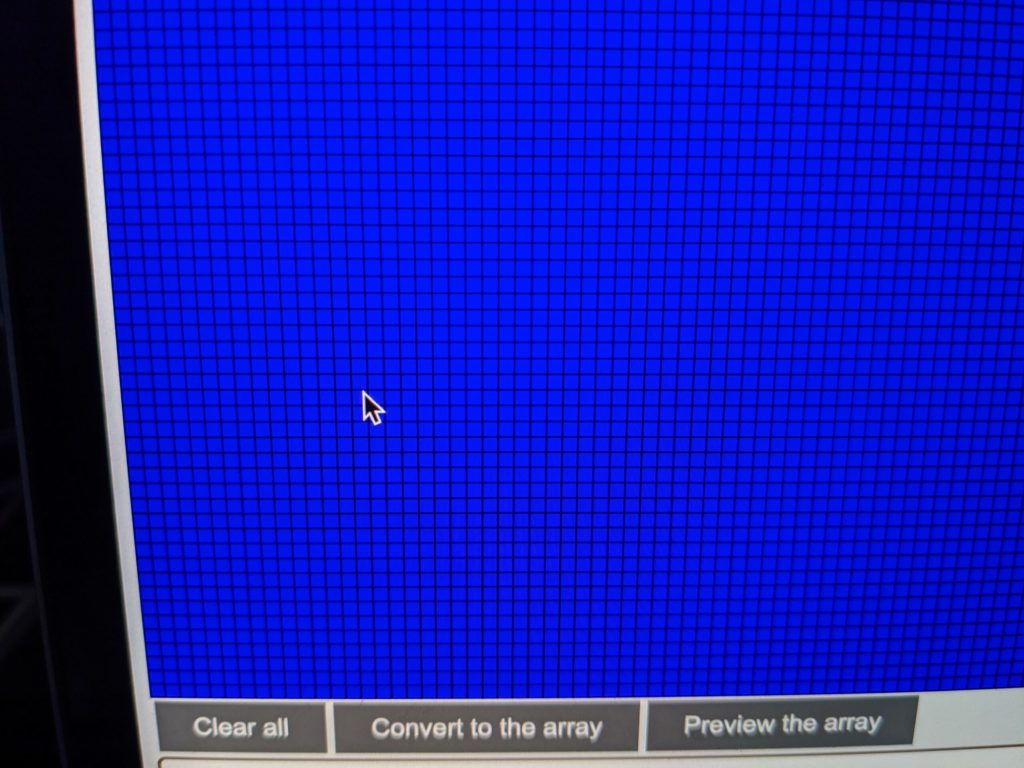
The LCD graphic Display expects an Array of Bytes in the XBM format. XBM is a monochrome bitmap format in which data is stored as a C language data array. It is primarily used for the storage of cursor and icon bitmaps for use in X graphical user interfaces.
A method was added to the application to convert the Array of bits into an Array of Bytes to match the XBM format.
Many tools including GIMP can save an image as XBM. A nice step-by-step instruction that the API docs show is here.
Code
A few examples of the code in the project.
This part configures the control of the LCD display with the BCM pin numbers listed above in the table.
config = GlcdConfigBuilder
       //Use ST7920 - 128 x 64 display, SPI 4-wire Hardware
       .create(Glcd.ST7920.D_128x64, GlcdCommProtocol.SPI_SW_4WIRE_ST7920)
       //Set to 180 rotation
       .option(GlcdOption.ROTATION, GlcdRotation.ROTATION_180)
       .option(GlcdOption.PROVIDER, Provider.SYSTEM)
       .mapPin(GlcdPin.SPI_MOSI, 19)
       .mapPin(GlcdPin.SPI_CLOCK, 13)
       .mapPin(GlcdPin.CS, 26)
       .build();
Converting the bits array to a byte array for the XBM format:
private static byte[] encodeToByteArray(int[] bits) {
    BitSet bitSet = new BitSet(bits.length);
    for (int index = 0; index  0);
        bitSet.set(index, bits[index] > 0);
    }
    return bitSet.toByteArray();
}
You can get the full code from this GitHub repository.
Result
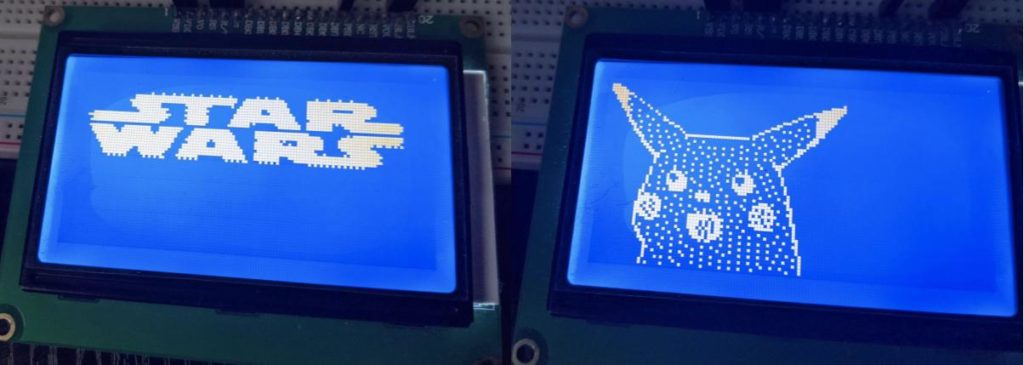
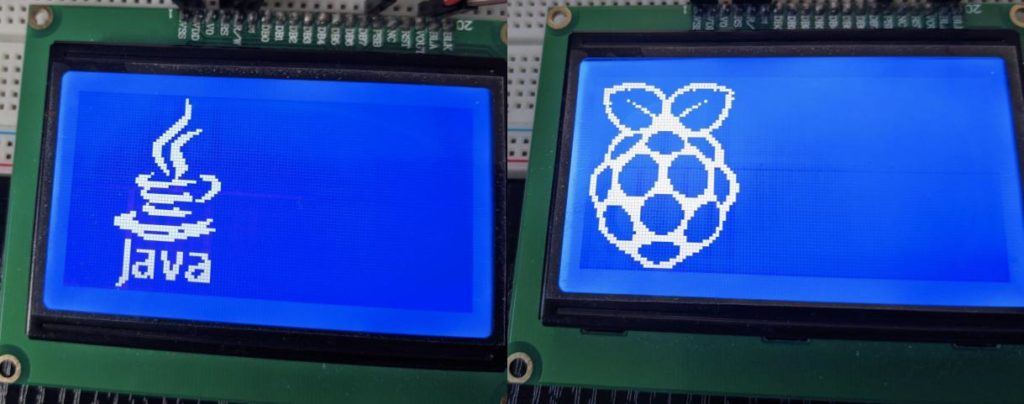
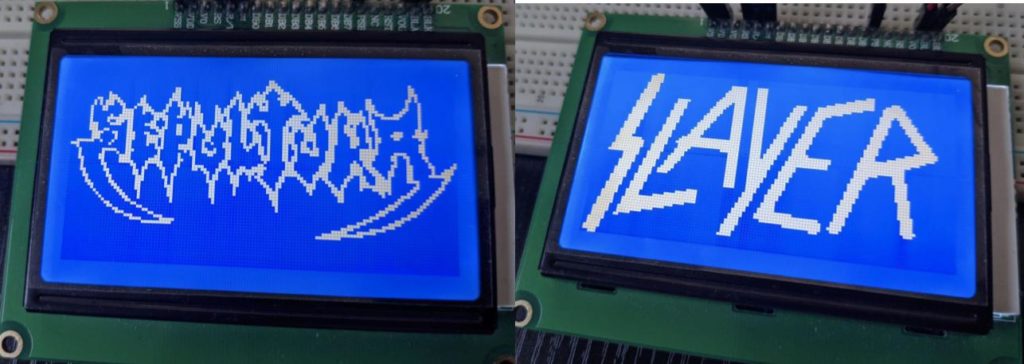
There are some XBM files inside the resources folder and you can follow up on the API example to display these images.
Some additional work is still needed to finish the logic for a combobox to show all XMB files inside resources and once selected, display that image on the LCD. But as you can see in this video, the Thymeleaf table can already be used to draw an image, which can be displayed on the screen.
Remember to use the hashtag #JavaOnRaspberryPi on Twitter to show the world Raspberry Pi with Java.
Links
- https://en.wikipedia.org/wiki/X_BitMap
- https://www.fileformat.info/format/xbm/egff.htm
- https://arduino-tutorials.net/tutorial/control-graphic-lcd-display-spi-st7920-128×64-with-arduino
- https://spring.io/projects/spring-boot
- https://www.thymeleaf.org/
- https://github.com/ribasco/ucgdisplay
Originally shared by Igor De Souza on his blog.
Don’t Forget to Share This Post!




Comments (0)
No comments yet. Be the first.