How to Share Your Work With a Video or Podcast
- July 14, 2023
- 2447 Unique Views
- 6 min read
Season 2 of the Foojay Podcast has come to an end. Since September of '22, 22 episodes where published here on Foojay.
In this article, we want to share some of the experiences of creating such podcasts, but also more generally, how you can share your work in a video with a small (or bigger) budget...
Audio
There is one fundamental rule for the audio: "Garbage in = Garbage out."
Yes, you can apply many filters and effects in a later phase, but you can't make a bad recording sound good. You need a clear and good recording as a starting point!
Microphone
A good microphone is a minimal requirement! Your computer microphone is not good enough. Ideally, you should use a microphone to place about +- 10cm from your mouth, a bit out of center.
Some examples:
- Blue Snowball
- Rhode recording kit: includes an interface to connect and adjust the volume of a headset easily
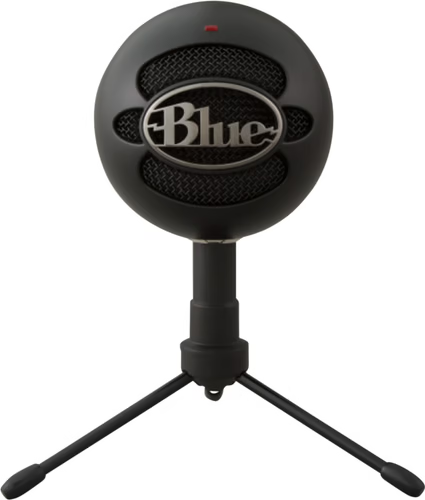
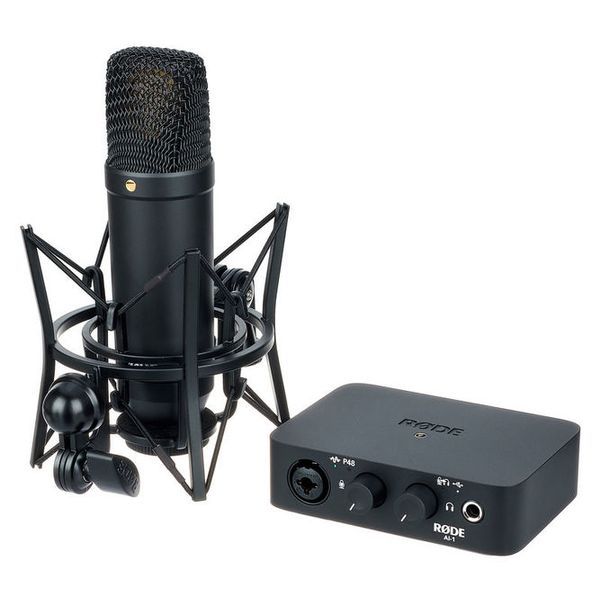
If you use audio recording software, like Audacity, adjust the level to record at -10db.
Sound Reflection Damping
Having some curtains or foam in front of you and at least on one side to prevent most of the echo.
Recording Your Screen and Yourself
If you use macOS, you don't need to install additional tools!
To record your IDE, terminal, browser, or other program:
- Open the program and enlarge the font size.
- Best to size the program window to 1920*1080 to have the correct aspect ratio.
- Hit Shift+Command+5 to select an area the size of your program.
- Hit Enter.
- You are now recording that portion of the screen.
- Hit Shift+Command+5 again and click "Stop recording."
- The recorded clip will be shown at the bottom right corner of your screen.
- Click on it and hit "Done." The clip is now saved on your Desktop.
Record yourself for the explanation:
- At the same time, you can open QuickTime.
- File > New movie recording.
- Select your camera (built-in or USB webcam) and microphone.
- Hit record in the QuickTime window.
- When done, hit stop, and save the file.
Recording a podcast
I found out Zoom is an excellent tool for recording podcasts with several remote guests. If you go into the recording preferences of the program, you can select "Record a separate file of each participant."
When you finish the recording, you'll find a file per meeting guest, which makes editing and finetuning each speaker's sound very easy!
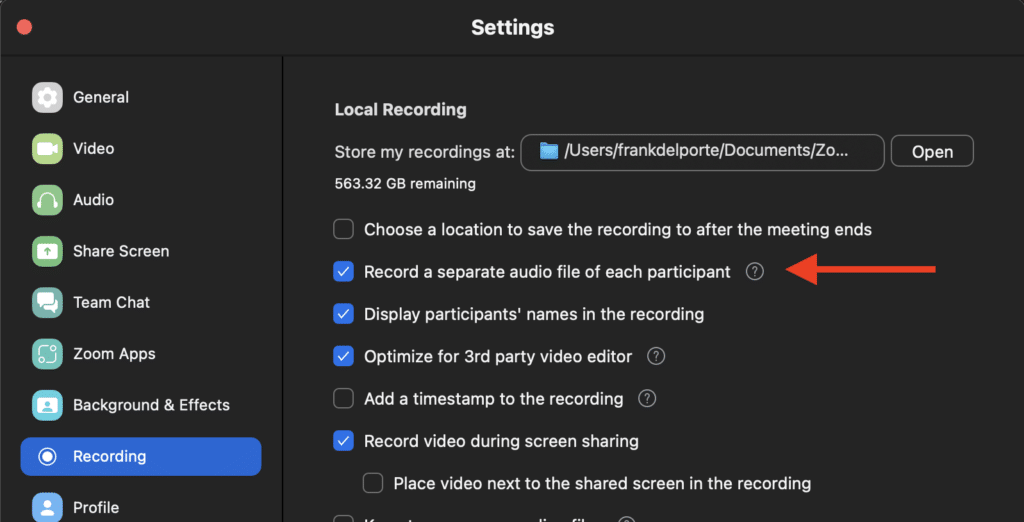
Another important tip: make sure multiple people make a recording simultaneously. In case the connection of one of you drops, the file is corrupted,... Better to be safe than sorry!
Additional video options
The ATEM Mini is a very popular device amongst content creators. It allows connecting 4 (or 8 with the Extreme version) HDMI sources. So you can connect one or more computers and cameras with HDMI output.
The ATEM is recognized as a webcam when connected via USB to your computer. You can do live video cutting during a recording or call when you want to switch between cameras and computer screens easily, and you can even do a picture-in-picture.
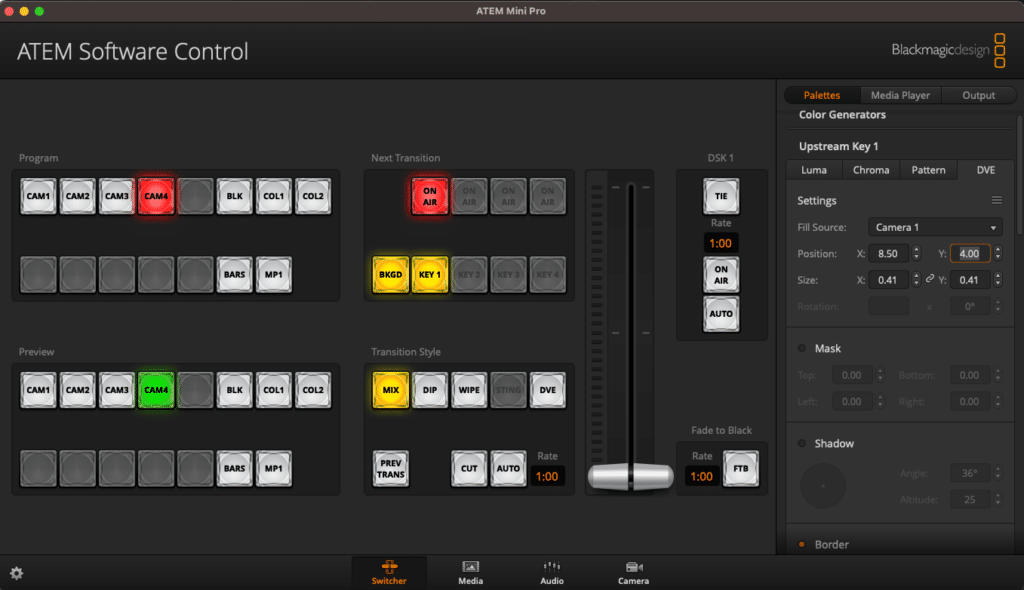
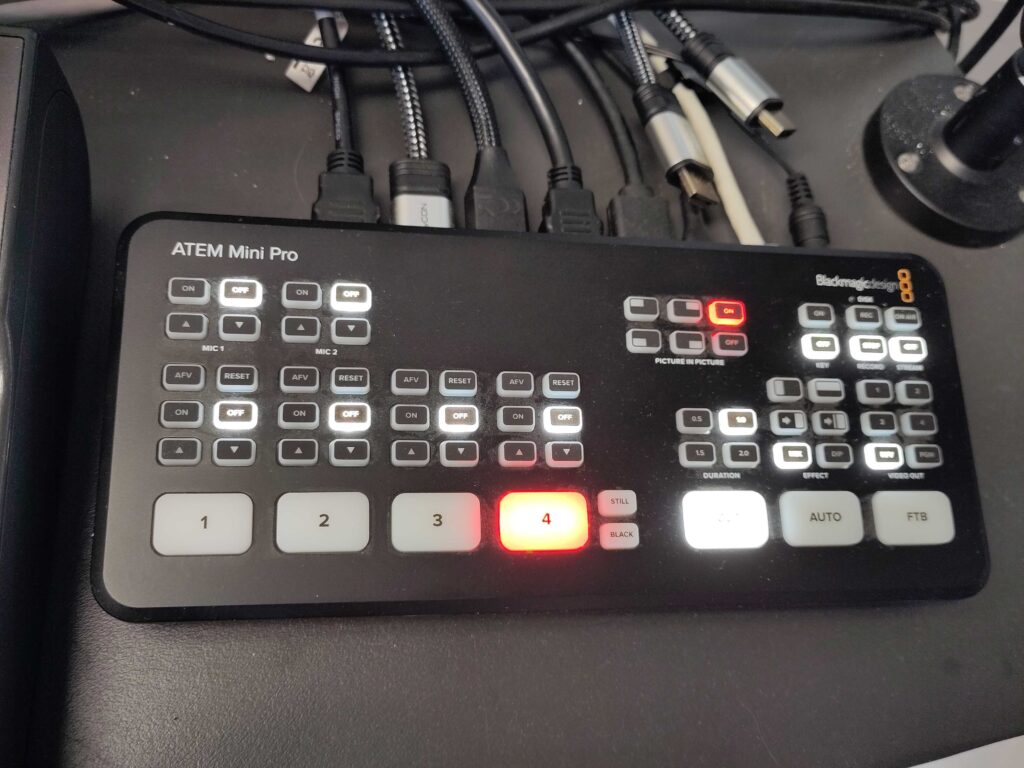
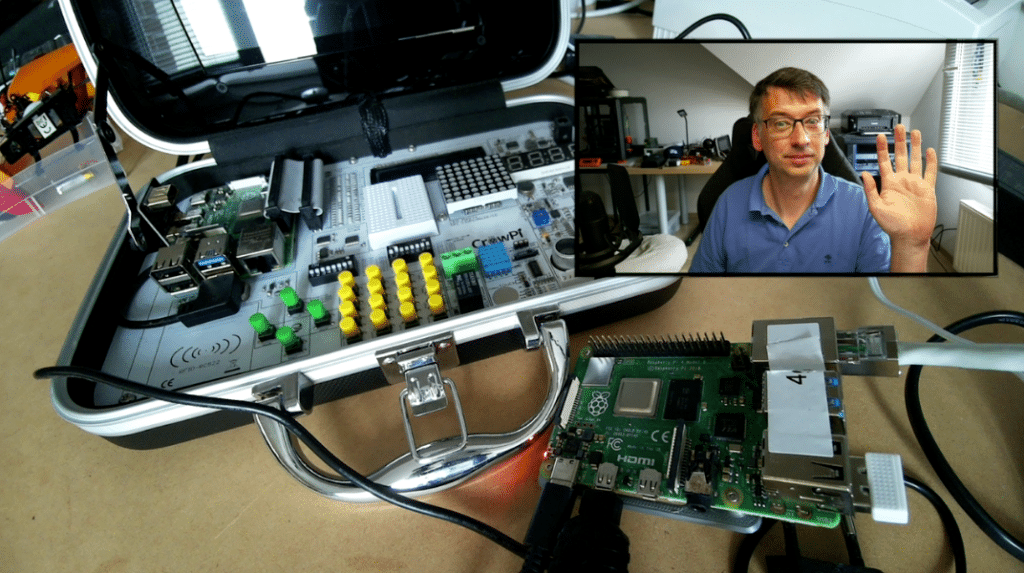
Be careful, webcams only have a USB output, so they can not be used with the ATEM. If you can find a Raspberry Pi (chip and stock problems...), you can use those as a cheap camera as described here.
Editing
Once you have all your raw recordings, it's time to start editing... There are many options here! Let's look at a few of the most popular.
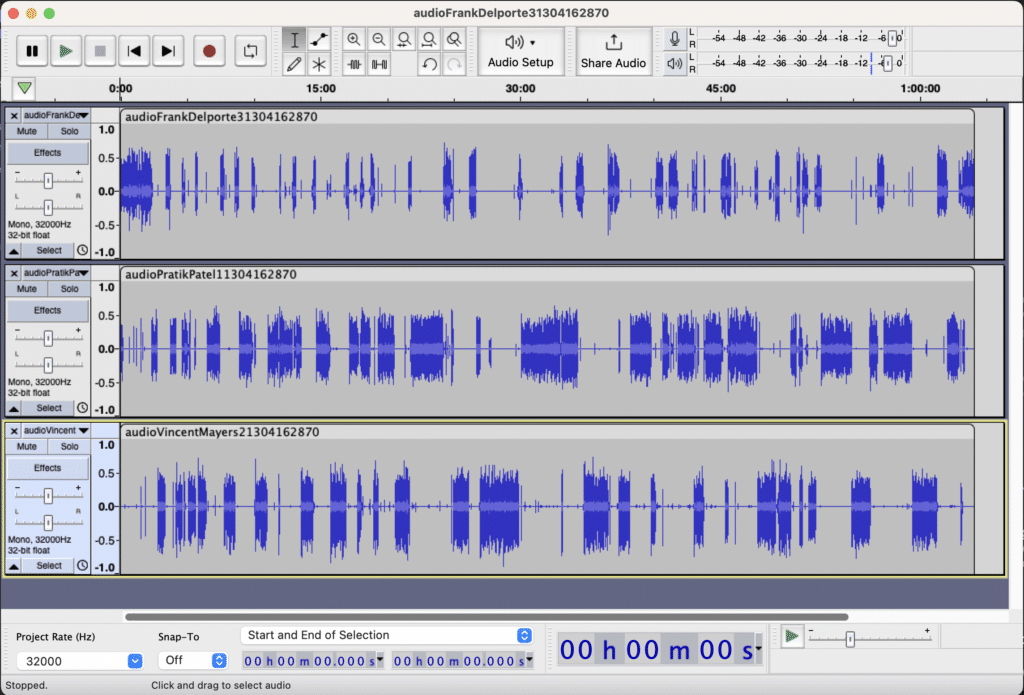
For audio editing, you can use Audacity, which is free, open-source, and cross-platform. It's an easy-to-use, multi-track audio editor and recorder for Windows, macOS, GNU/Linux, and other operating systems.
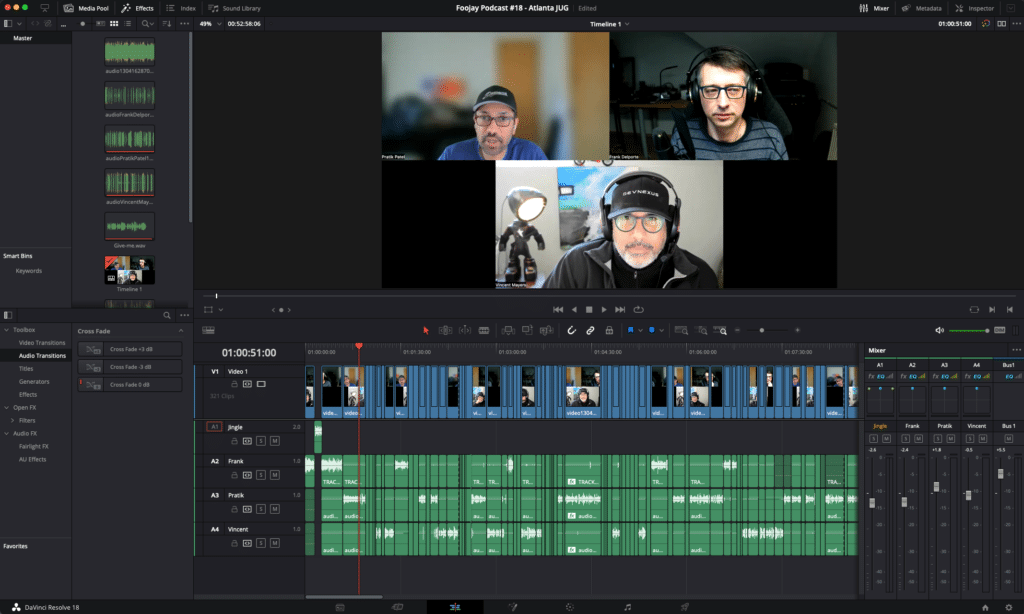
For video editing, DaVinci Resolve by Blackmagic Design is a wonderful piece of software. You can get it for free, and it's a real “movie quality” video editor, also used by Hollywood professionals. That could be a problem, as it’s a real power horse, so it can require some learning curve. There is also a licensed version, which gives you even more video and audio filters, but the free version will definitely get you started!
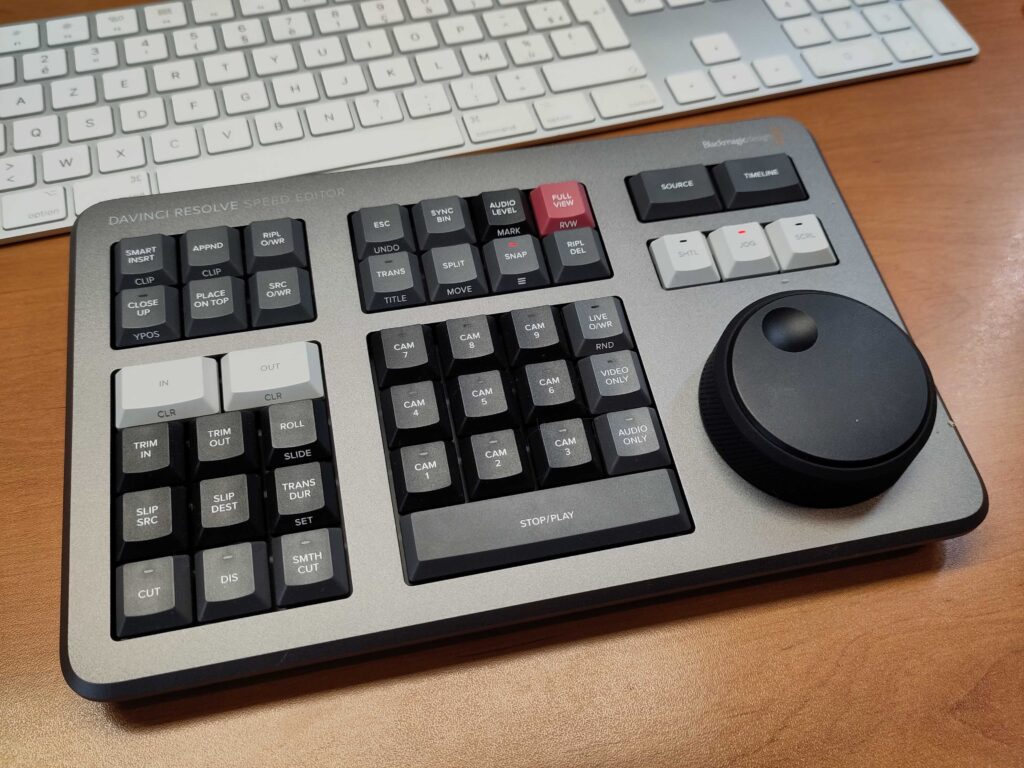
I also use DaVinci Resolve for podcast editing, as I bought the additional Speed Editor, which enables cutting "euhs", repeats, and pauses with the push of a few buttons. This approach speeds up the editing process significantly! You can buy this device included with a license for the full version of DaVinci Resolve, but if you search on eBay, you can also find it a lot cheaper without such a license if you already have one.
Example Setups
Shai Almog
I record videos with the built-in Mic on my laptop. It grabs background noise, but Final Cut Pro lets me clean it up and get a crisp sound. It isn’t perfect, but it’s pretty good since I’m not too far. Mics are great, but they are distracting and get in the way. They limit me from reading the script and working.
I use a Mic only for podcasts because the audio there is more critical, and I don’t know how well the host would do audio editing. There’s this tool from Adobe that helps check your audio setup. That’s pretty nice.
In terms of microphones, I think a good USB dynamic microphone is probably best for the vast majority of makers. We don’t need excellent audio. We need clarity and isolation to prevent outside noise. Dynamic microphones are better because they don’t grab external sound. I had a Yetti, and for my use cases it was pretty awful. A light and cheap dynamic mic can probably serve most of us better.
You can find video content created by Shai at youtube.com/@debugagent.
Frank Delporte
I graduated from a film school and started my professional career as a video editor in 1994. It's amazing to see how this technology has evolved and at which low price you can buy professional equipment like the ATEM Mini or build a camera with a Raspberry Pi. On my blog, I shared a movie recorded with this setup.
As I record and edit the Foojay podcasts, I invested a little more to extend my "home studio" with a good microphone (Rode), audio mixer (Zoom LiveTrak L-8), and active speakers. To mount a LED light (Bresser BR-2250) and Raspberry Pi camera on the wall, I created a small 3D-printed holder.
To further improve my setup, I need to move a 19"-rack to a different room, as my router and NAS make some fan noise. Some foam on the walls would probably also improve the audio quality further. My speakers are mounted too high, so I need to ruin the wall a bit more with new (and unused) drill holes. And cable management is a challenging problem to tackle!
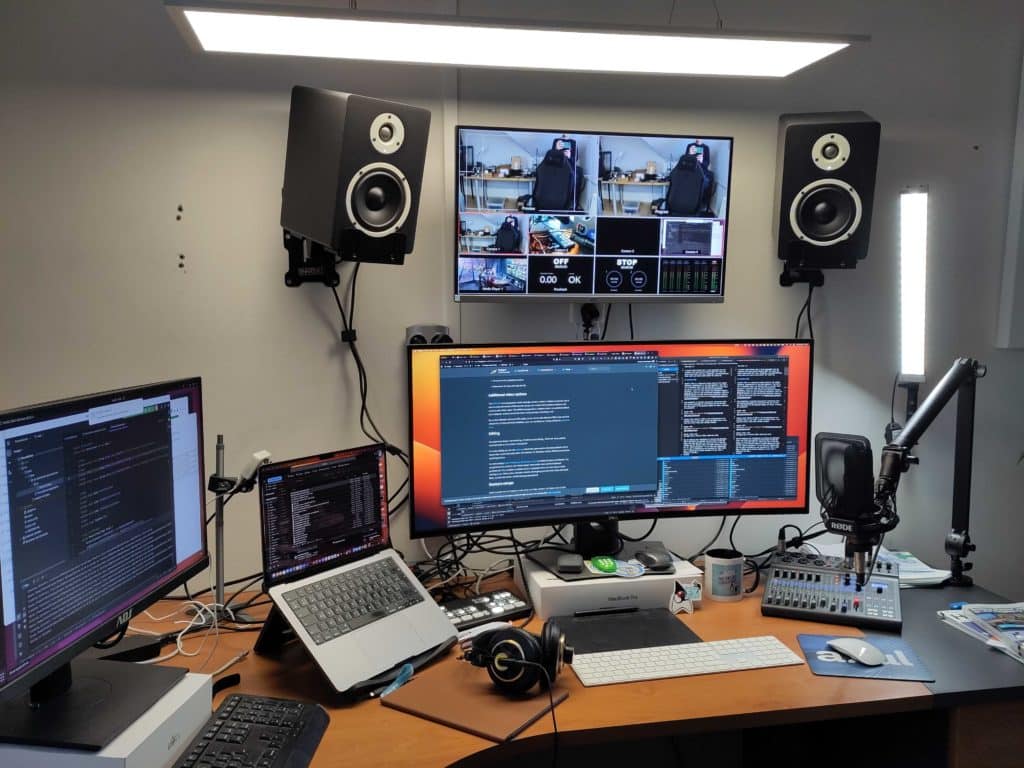
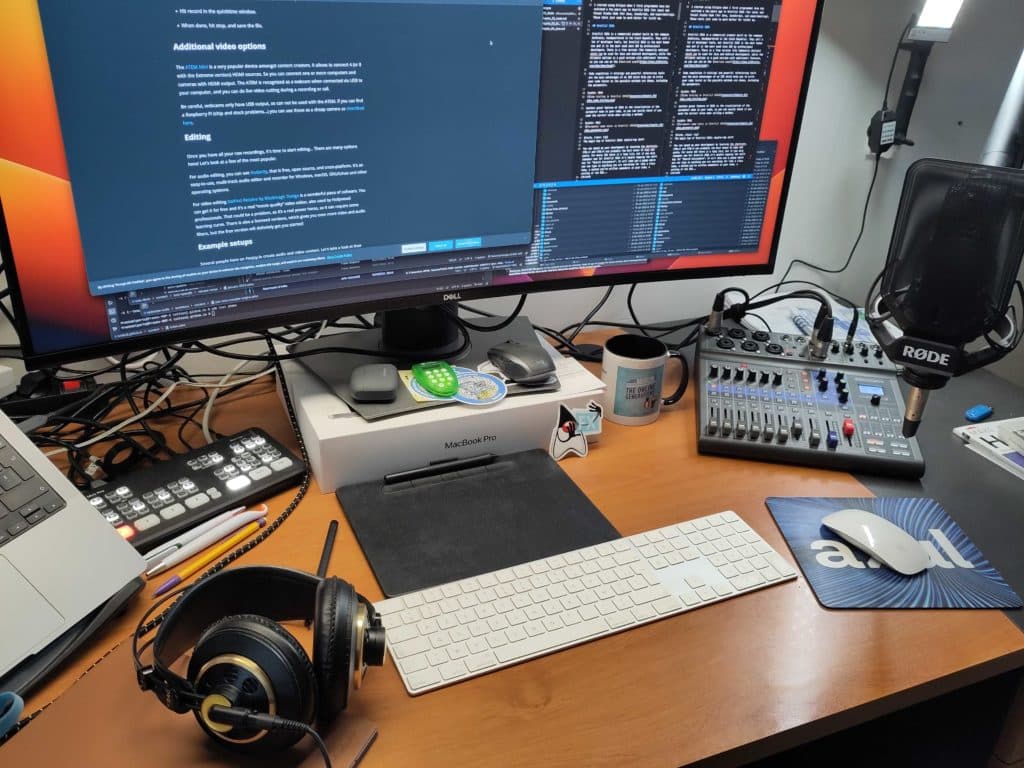
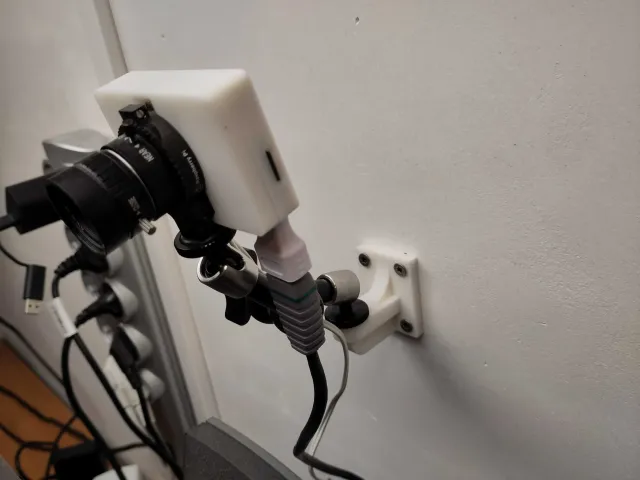
Frank used this setup for the Foojay podcast and created the "Java Quick Start" tutorial.
Conclusion
Being "nerds and tech freaks," investing in audio and video equipment could quickly get out of control.
But when you can produce high-quality recordings and edits, you will add a lot of value to the content you create!
Don’t Forget to Share This Post!





Comments (2)
A N M Bazlur Rahman
2 years agoOn average, how much time does it usually take to create a video or podcast?
Frank Delporte
2 years agoHi Bazlur, as always... it depends ;-) For the Foojay podcast, once I got into "the flow," I managed to create one podcast within: * 2 hours to prepare, invite guests, and find a timeslot for the recording * 2 hours for the recording itself * 4 hours for editing and creating the show notes with links and timestamps * 1 hour to upload to the podcast platform and create the Foojay page So in total, you could say one workday per podcast. A video is more complicated as it's mostly the end-result of a whole process of publishing something and then creating a video to explain it further. For instance, today I <a href="https://www.youtube.com/watch?v=-CgjwthLy5c" target="_blank" rel="noopener nofollow ugc">published this video</a>, but the code and the webpage that are explained were already in progress for several weeks. So although I only needed about 4 hours for the recording and editing, there were multiple days upfront to actually create the content.